How to Create an Anime Girl Drawing Full Body Step by Step Process

Let’s create a fun and rewarding anime girl drawing! This guide will be able to walk you through how to draw a full-body anime girl step by step.
Whether you are a beginner or someone looking to improve your skills, we will cover the basics of coloring and adding details. Please take out your pencil, and paper, and let’s get started!
Step 1: Gather Your Materials
Before we begin, let’s get everything you need. The right tools will make the drawing process easier and more enjoyable.
Here’s a checklist of the necessary materials to begin.
- Paper: Just any drawing paper will be good, but sketching paper will be the best because it would work well with erasing, and layering and never gets torn easily.
- Paper: Just any drawing paper will be good, but sketching paper will be the best because it would work well with erasing and layering and never gets torn easily.
- Pencils. A set of pencils is very useful, including H pencils for light lines and B pencils for shading and darker lines.
- Eraser: A good quality eraser is important for corrections. Kneaded erasers are excellent for gently lifting graphite without damaging the paper.
- Fine liners or ink pens for outlining your drawing after you are all done with the sketch. Mix different nib sizes to bring in varied line thicknesses.
- Colored pencils or markers: To add color later. Watercolors can also be used if you prefer a softer look.
- Ruler: Useful for drawing straight lines or measuring proportions.
- Reference Images: Having some anime girl references can give inspiration on poses, hairstyles, and outfits.
Step 2: Basic Shapes and Structure

So, the first step of sketching is to outline the head and sketch out the skeleton of the female body.
Drawing the Skeleton
1. Basic Shapes: Start by drawing a simple stick figure that will be the skeleton of your anime girl. Use circles for the head and joints, and straight lines for the limbs. This is the most important step in getting proportions right.
2. Positioning: Determine the pose. Is she standing confidently, jumping, or sitting playfully? Ensure that the body looks balanced. The head is usually a little larger than the body in anime style, which adds to the exaggerated features.
Adding Guidelines
1. Outline of the Body Draw gentle lines indicating where you’ll have arms and legs to represent joints, keeping proportional for a more accurate design.
2. Proportions: Anime characters are usually long-limbed and have a smaller torso. A general rule of thumb is that the character height is around 7-8 heads tall. To illustrate, the torso may be about 2-3 heads in length and the legs are usually much longer.
Step 3: Outlining the Body
Now after the skeleton is done, carefully outline the body while you are creating an anime girl drawing full body.
Defining the Shape
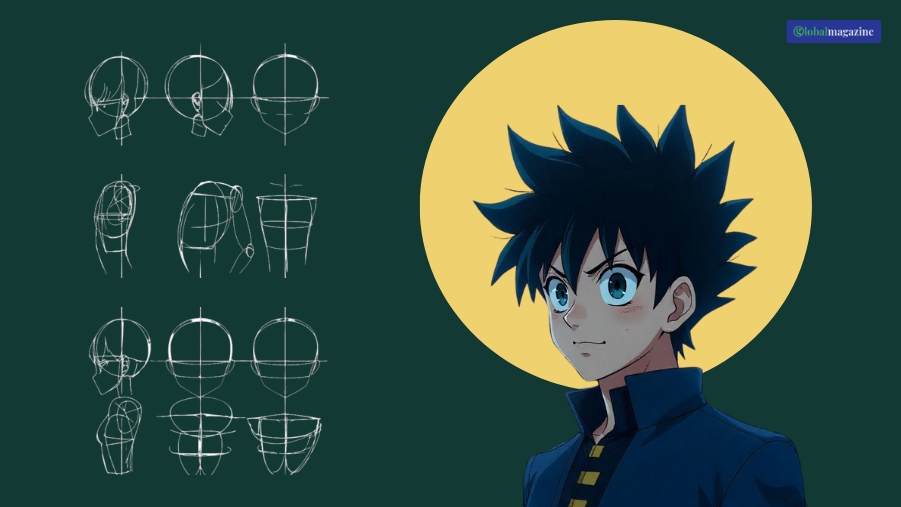
1. Draw Head Start with an oval to make a head. Add a vertical line running down the center to place facial features, and a horizontal line for the placement of eyes.
2. Body Filling: Using the stick figure as a guide, carve the body out. Smooth out the chest, waist, and hips. Add curves to the arms and legs but make them lean to retain the anime feel.
Adding Features
3. Facial Features: Draw in the eyes, nose, and mouth. Anime eyes are usually big and expressive. The top of the eyes can be on the same level as the horizontal line and the bottom curves down for a standard anime look.
4. Hair: Draw hair from the top of the head. Anime hair can be spiky, straight, or curly. Be creative with it. Use flowing lines to depict the movement and volume of the hair.
Step 4: Dress and Accessories

Now that the body and head are done pick out the outfit and accessories for your anime girl.
Designing the Outfit
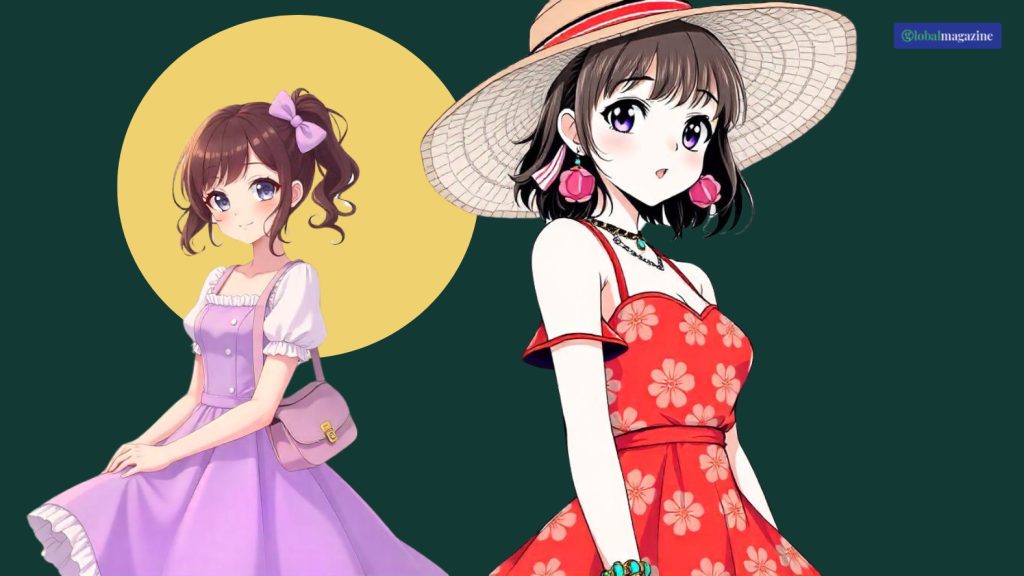
1. Choose a Style: Decide what kind of clothes your character will wear. Is it a school uniform, casual wear, or fantasy armor? Think about how the outfit reflects her personality.
2. Sketch the Garment: Sketch the outline of the garment lightly over the body. Think about how the fabric drapes and fits the character. Use folds and creases to make it look more realistic. These are often located at the elbows, knees, and where the clothing overlaps.
Add Accessories
3. Accessories: Belts, bags, or any jewelry that falls under that list. These accessories give personality and depth to the character. At times, minor details made a lot of differences sometimes.
Step 5: Finalizing the Drawing
Once all these are done, your sketch of an anime girl drawing full body is done.
Cleaning Up Lines
1. Refine the outline: Draw the image more solid with a darker pencil or fine liner, paying great attention to clear lines with no breaks and sharp clothes edges; straight lines are made using a ruler.
2. Erase Guidelines: Once you’re satisfied with the outline, gently erase the initial guidelines. This will clean up your drawing and make it look polished.
Hatching and Texture
3. Add details: These can include tiny details like eyelashes, eyebrows, and intricately designed patterns on dresses. Such details make lots of difference in terms of character and style.
4. Shading Use a pencil to shade: Take into account where your light source is coming from and shade the opposite side of your character. The softer pencils, B, should be used for darker shadows, while the harder pencils, H, are for lighter areas. Layer gradually to allow for smoother transitions.
Step 6: Colorizing your Drawing

Now comes the coloring of the anime girl.
Selecting Colors
1. Select Some Colors: Select the skin, hair, and clothes colors. Take inspiration from your favorite anime or create something new. In fact, make a miniature color swatch to test combinations.
2. Skin Color: Base color on the skin. Apply light shades on highlights such as cheeks and dark shades on shadows under the chin, neck, and arms. Softly blend colors to look more natural.
Coloring Techniques
3. Hair: The roots would be a darker color and the tips a lighter one. For an extra shine effect, you can add some highlights by drawing thin lines in the lighter color where the light hits the hair.
4. Clothing: Do the same for the clothing. Start with a basic color, followed by the shadows of folds into each other or deeper darker shades over these areas, giving depth and dimensionality to your clothing.
Optional Step 7: Background
After coloring if you wanna add any other features to your drawing then start adding them.
Adding a Scene
1. Simple Background If you want a background, make it simple. A plain color or a gradient is great. You could also do a soft landscape or urban setting depending on your character’s style.
2. Merge the Character: A background should support your character and not overwhelm it. In case you have too much background, make your character pop by using different colors.
Step 8: Final Touches

Now that the sketch is complete add a few final touches and you are good to go.
Review Your Work
1. Error of editing: Take a step back and view your drawing from a distance, then look for sections that might need correction. Corrections are easy, so I have no qualms about redoing something!
2. Final Details: Add the final details, such as eye highlights, reflections, or small textures on the clothes. All these final details will bring completion to your artwork.
3. Sign Your Artwork
Sign in: Sign your artwork; it is one way of making your creation known, besides, it personalizes the artwork.
4. Recommendations for Improvement
- Practice regularly: The more you draw, the better you are. Try to draw people in different poses and attire to be diverse.
- Other Artists: See other anime styles and techniques. Try to copy their work and understand how they were made.
- Experiment with Styles: Fear not to play around or find your own thing. The most creative thinking is always about experimentation.
- Get Feedback: Share your work with friends or online communities. Constructive criticism can help you grow as an artist.
Wrapping Up!
Congratulations! You’ve just completed your first full-body anime girl drawing. Remember, practice is key. Don’t get discouraged if your first few drawings don’t turn out as expected.
Keep experimenting with different styles, poses, and colors. It is not just a matter of technique but also an expression. So, enjoy and let the creativity come out.
You may share them with your friends or keep them for yourself. Every piece you make takes you one step closer to being a better artist. Have a nice draw!
You May Also Like to Read:


